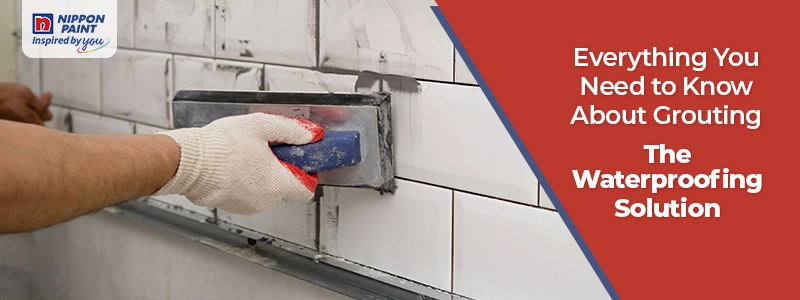
Grouting is an essential process in construction and renovation, particularly in waterproofing applications. Whether you’re a seasoned contractor or a DIY enthusiast, understanding the nuances of grouting can make a significant difference in the durability and appearance of your projects. This comprehensive guide covers everything you need to know about grouting as a waterproofing solution, including its types, benefits, application methods, and common mistakes to avoid.

Grouting involves filling gaps, sealing joints, and reinforcing structures. It’s a crucial step in waterproofing because it prevents water from penetrating surfaces and causing damage. The process is used in various applications, from tiling and masonry to underground construction and foundation stabilisation.
Types of Grouting
Grouting Application Procedures
Before you begin, make sure you have all the necessary materials and tools:
- Grout (cementitious, epoxy, or furan depending on your project)
- Grout float
- Grout sponge
- Buckets for mixing and cleaning
- Mixing tool (drill with mixing paddle or hand mixer)
- Water (or the appropriate solvent for your grout type)
- Protective gear (gloves, goggles)
- Clean rags or towels
- Grout sealer (if needed)
Proper surface preparation is crucial for successful grouting.
- Remove Spacers: If you used spacers during tile installation, remove them before grouting.
- Clean the Tiles: Ensure that the tiles or surfaces are clean, dry, and free of debris. Use a damp cloth to wipe away any dust or dirt.
Mixing the grout correctly is essential for consistency and strength.
- Follow Instructions: Read the manufacturer’s instructions for mixing the grout. For cementitious grout, you’ll usually mix it with water, while epoxy grout requires mixing the resin and hardener components.
- Mix to Consistency: Combine the grout and liquid in a bucket. Use a mixing tool to achieve a smooth, lump-free consistency similar to peanut butter. Avoid adding too much water, as this can weaken the grout.
- Let it Slake: For cementitious grout, allow the mixture to slake (rest) for about 10 minutes, then remix before application.
Applying the grout correctly ensures proper filling of joints and a neat finish.
- Load the Grout Float: Scoop some grout onto the float using a trowel or directly from the mixing bucket.
- Spread the Grout: Hold the float at a 45-degree angle and spread the grout across the surface, pressing it firmly into the joints. Work in small sections (about 3×3 feet) to ensure the grout doesn’t dry out before you can shape it.
- Ensure Full Coverage: Make sure all joints are completely filled, with no gaps or air pockets.
Cleaning up excess grout helps to create clean lines and prevent a hazy residue.
- Angle the Float: Hold the grout float at a 90-degree angle and scrape off excess grout from the tile surfaces. Move diagonally across the joints to avoid pulling grout out of the gaps.
- Clean the Tiles: After about 15-30 minutes (when the grout starts to firm up but is not fully hardened), use a damp grout sponge to clean the tile surfaces. Wipe in a circular motion, then switch to a diagonal motion to smooth the joints. Rinse the sponge frequently to avoid spreading grout residue.
Once the grout has cured, perform a final cleaning to remove any haze.
- Buff the Tiles: Use a clean, dry cloth or a grout haze remover to buff the tile surfaces, removing any remaining grout haze.
- Inspect the Joints: Check for any low spots or gaps in the grout lines. If necessary, apply additional grout to these areas and clean as before.
Proper curing ensures the strength and durability of the grout.
- Allow to Dry: Let the grout cure for the time specified by the manufacturer, usually 24-72 hours for cementitious grout. Epoxy grout may have different curing times.
- Avoid Water Exposure: Keep the area dry during the curing process to prevent weakening the grout.
Sealing the grout can enhance its longevity and resistance to stains and moisture.
- Apply Sealer: After the grout has fully cured, apply a grout sealer according to the manufacturer’s instructions. Use a small brush or applicator to ensure even coverage.
- Wipe Off Excess: Remove any excess sealer from the tile surfaces with a clean cloth.
Regular maintenance keeps your grouted surface looking its best and prolongs its life.
- Clean Regularly: Use a mild cleaner and a soft brush to clean the grout lines. Avoid harsh chemicals that can degrade the grout.
- Inspect and Repair: Periodically inspect the grout for cracks or damage. Repair any issues promptly to prevent water infiltration and further damage.
FAQ
How do I choose the right grout for my project?
Consider the specific requirements of your project, such as the need for waterproofing, chemical resistance, and the type of surfaces involved. Epoxy grout is ideal for high-moisture areas, while cementitious grout is commonly used for general tiling.
