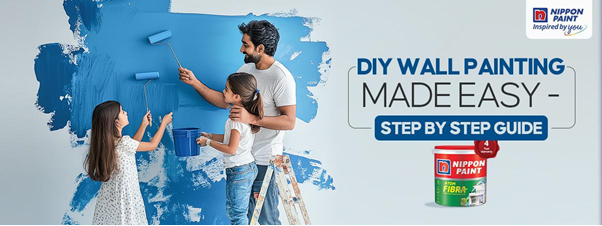
DIY Wall Painting Made Easy: Step-by-Step Guide for a Stunning Home Makeover
Ever thought of giving your home a fresh, new look without hiring professionals? DIY wall painting is an exciting and cost-effective way to transform your space. With the right easy painting tips, tools, and techniques, you can achieve a professional-quality finish effortlessly.
In this step-by-step guide, we’ll walk you through everything from preparation to the final coat so you can create a stunning home makeover using trusted products likeNippon Paint.
Step 1: Gather Your Painting Essentials
Before you begin, gather the right tools and products to set yourself up for success. Here’s what you’ll need:
Finish Type – Matte conceals imperfections; gloss adds reflectivity.
If your terrace is exposed to intense sunlight, consider using Walltron High SRI Paint.Specially designed for terrace applications, it reflects solar radiation effectively, helping to reduce surface temperature and keep your interiors cooler.
Step 4: Master the Painting Technique
Now for the fun part of painting! Here’s how to do it right:
Cut in first – Paint the edges and corners using a brush.
Use a roller for large surfaces – Work in a ‘W’ or ‘M’ pattern for even distribution.
Apply two coats – Let the first coat dry before applying the second.
Remove painter’s tape – Do it while the paint is still slightly wet.
Once dry, put everything back in place and enjoy your newly painted space!
Bonus Tip: Maintain Your Freshly Painted Walls
Keep your walls looking fresh:
Dust regularly with a soft cloth.
Wipe minor stains using diluted soap water.
Avoid scrubbing the surface for at least two weeks.
Wrap-Up
DIY wall painting doesn’t have to be complicated. With proper prep, quality materials like Nippon Paint, and the right tools, your home makeover can be as rewarding as it is stunning.
Explore more shades and products at the Nippon Paint Amazon Brand Store and bring your walls to life beautifully and affordably.
FAQs
1. How long does DIY wall painting take?
A single room usually takes 1–2 days including drying time.
2. Should I use a primer before painting?
Yes, it enhances adhesion and ensures long-lasting results.
3. How do I avoid roller marks?
Use a high-quality roller and roll in a ‘W’ motion with even pressure.
4. How many coats are ideal?
At least two coats are recommended for optimal finish.
5. What kind of paint should I use for walls?
Choose matte for a modern look or satin/gloss for a sleek, durable finish.